For most people, a clean home is a happy home. With your surroundings uncluttered and clean, your mental state is usually happier. This is one of the big reasons that cleaning your mattress will help to give you peace of mind.
Having a clean mattress and bedding will help keep you more comfortable overall. The benefits are huge. When you deep clean your mattress you are removing dust, dead skin cells, dust mites, pollen, and other allergens. You can breathe easier and rest easier.
You’ll also be removing body oils and any other stains which may have occurred over the course of time, leaving behind a fresh clean surface. This can help prevent skin breakouts. For those with skin problems, this is very important for both their physical comfort as well as mental wellbeing and confidence.
Bedtime will be more relaxing and you will get the quality rest you desire and deserve. And, if that isn’t enough to convince you, consider these reasons: 10 Reasons You Should Regularly Clean Your Mattress When you see the second reason, you may stop what you are doing and become a mattress cleaning fool right now!
It’s best to start cleaning your mattress early in the day so that you have plenty of time to wash and thoroughly dry everything. (Never, ever, ever put bedclothes on a damp mattress!)
Use this section to jump to areas in the article that interest you the most:
- Gather the Supplies
- Strip the Bed
- Vacuum
- Clean Spots
- Specific Stains
- Sprinkle Baking Soda and Vacuum Again
- Flip or Rotate Mattress
- Dry Thoroughly
- Mattress Protector
- Sheets and Bedding
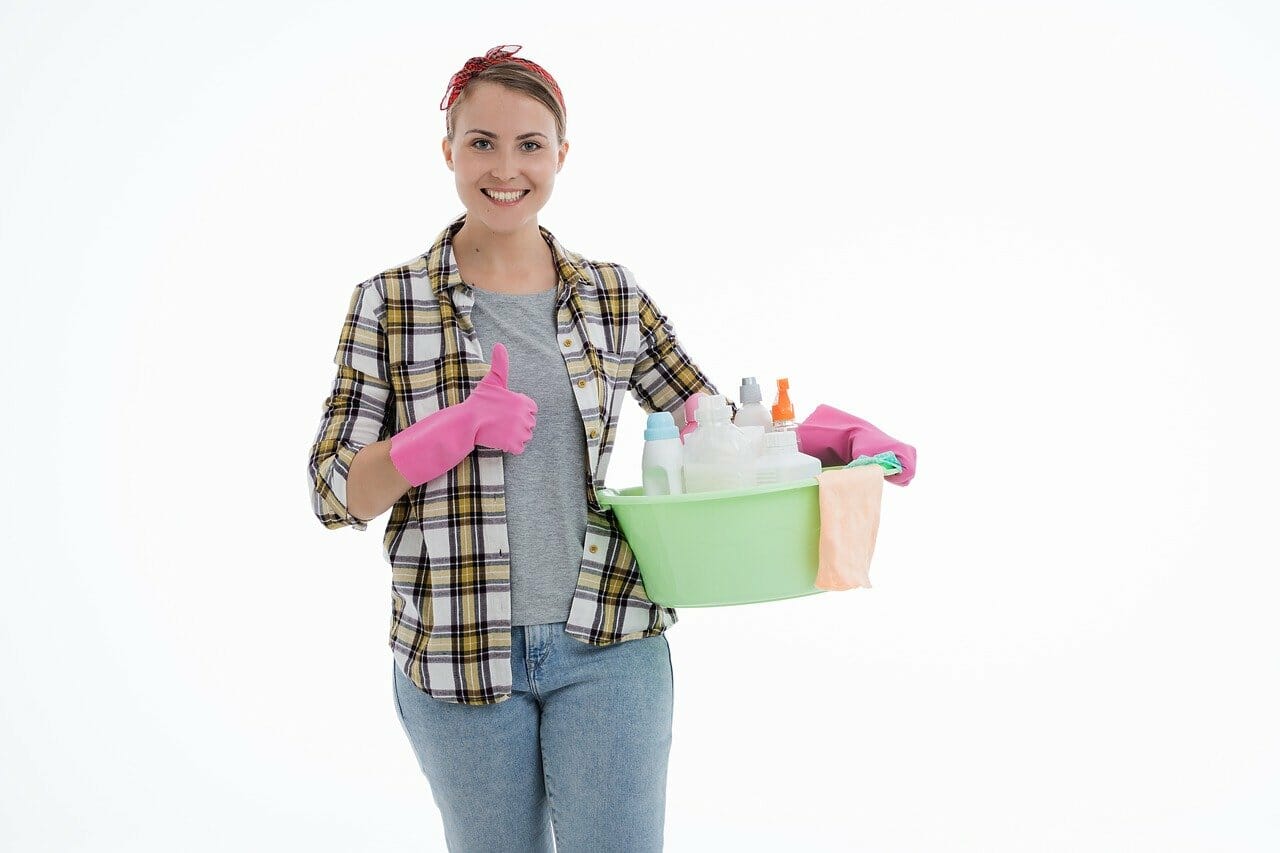
step 1: GATHER THE SUPPLIES
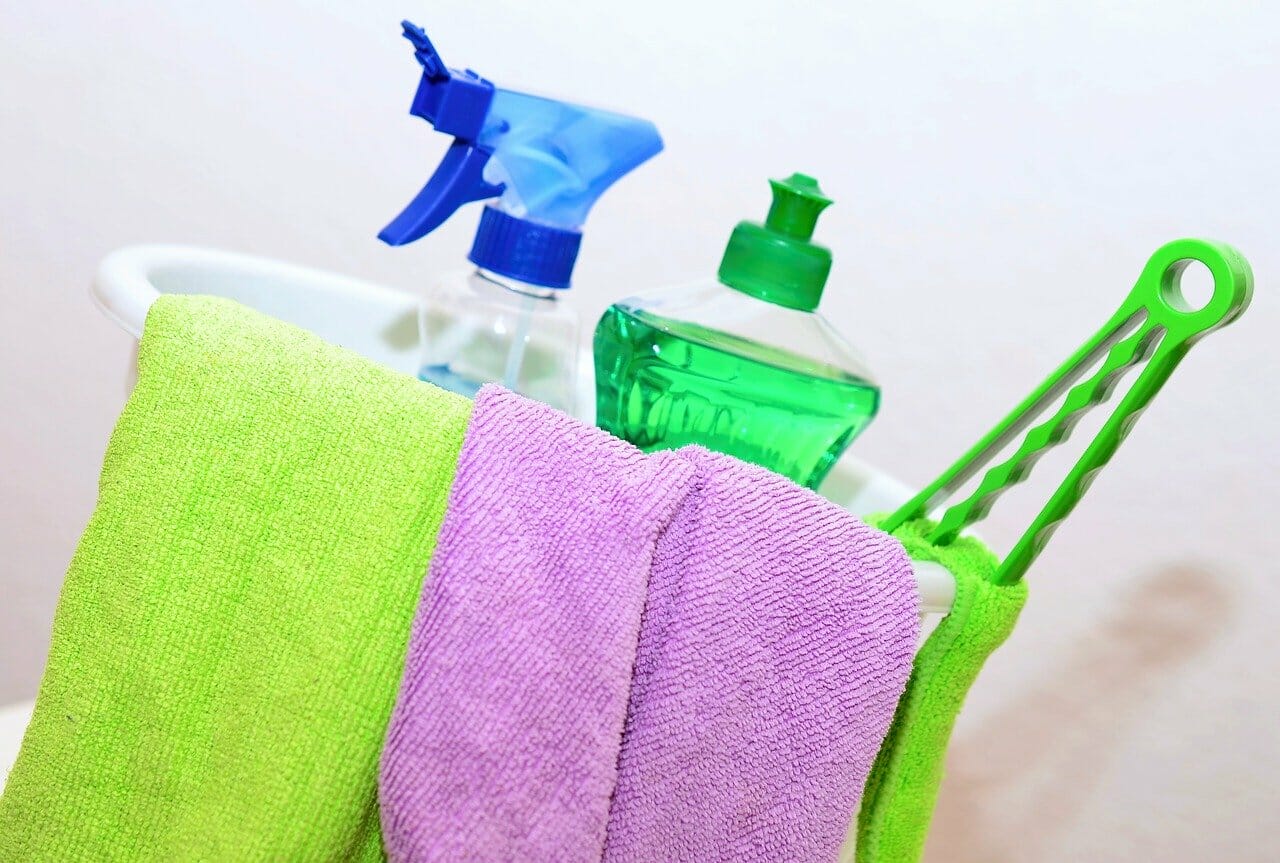
First things first. When you get ready to clean your mattress you’ll want to make sure you have the proper supplies to clean your mattress. To do a thorough job of cleaning, you’ll need a number of supplies on hand.
You’ll want to gather up:
- a vacuum cleaner with an upholstery attachment
- enzyme cleaner or you can make a solution with hydrogen peroxide and dish soap
- laundry detergent
- baking soda (large box for cleaning)
- cleaning cloths
- soft-bristled toothbrush if deep cleaning stains
- cold water
step 2: STRIP THE BED
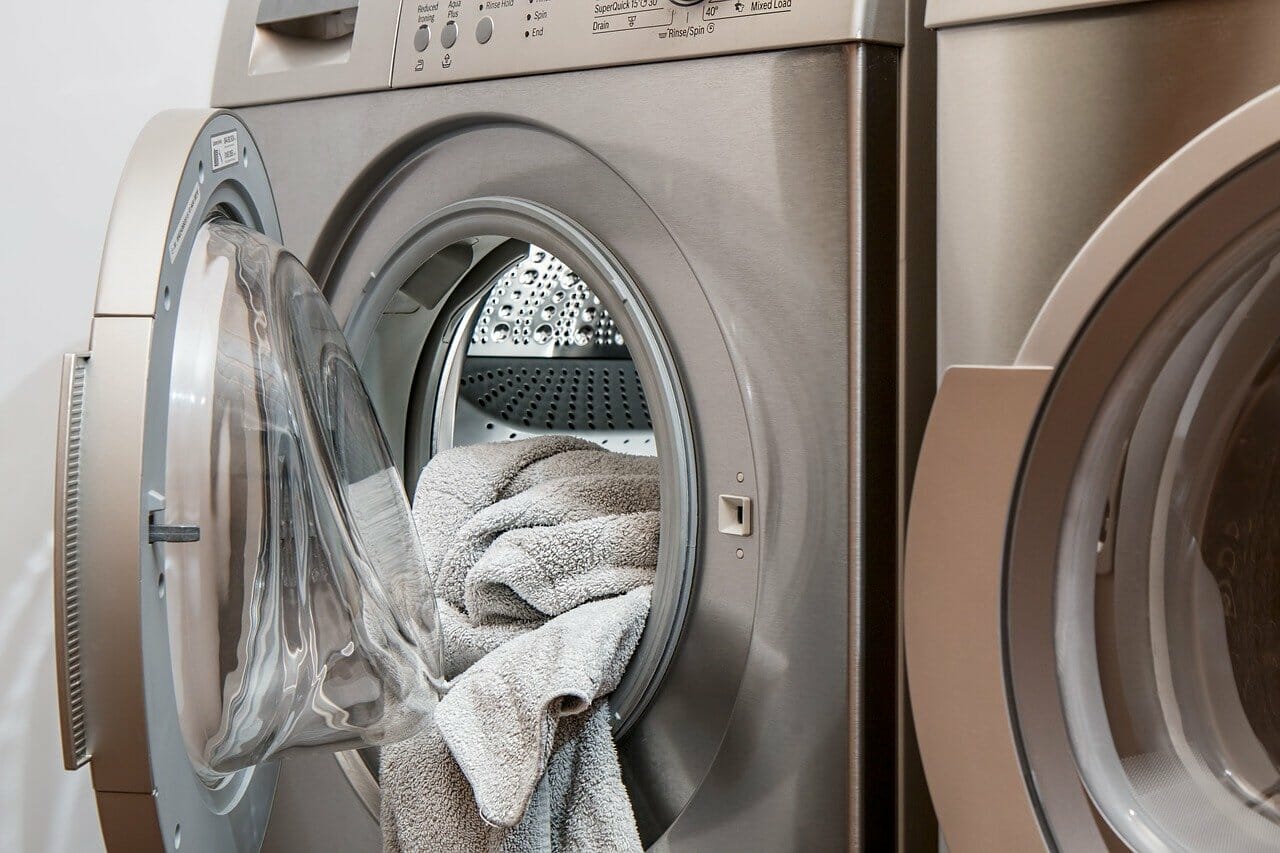
This step is fairly obvious. You’ll want to remove your comforter or blankets, sheets, pillowcases, and set the pillows aside, and any mattress pads. Wash and dry these according to the manufacturer’s instructions. You can do this as you are completing the rest of the steps.
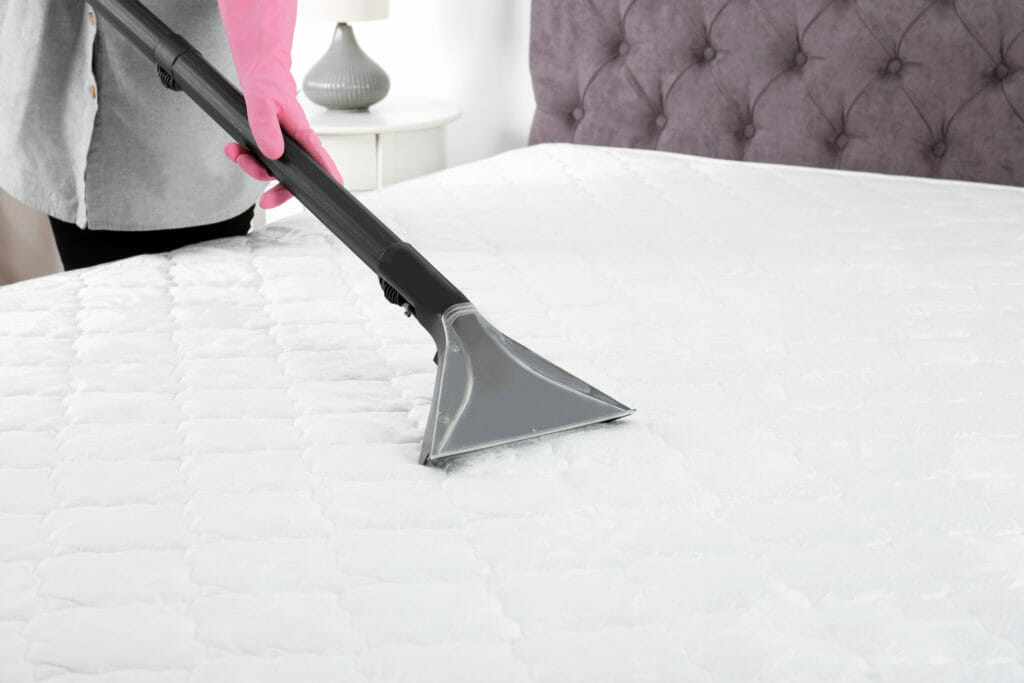
step 3: VACUUM
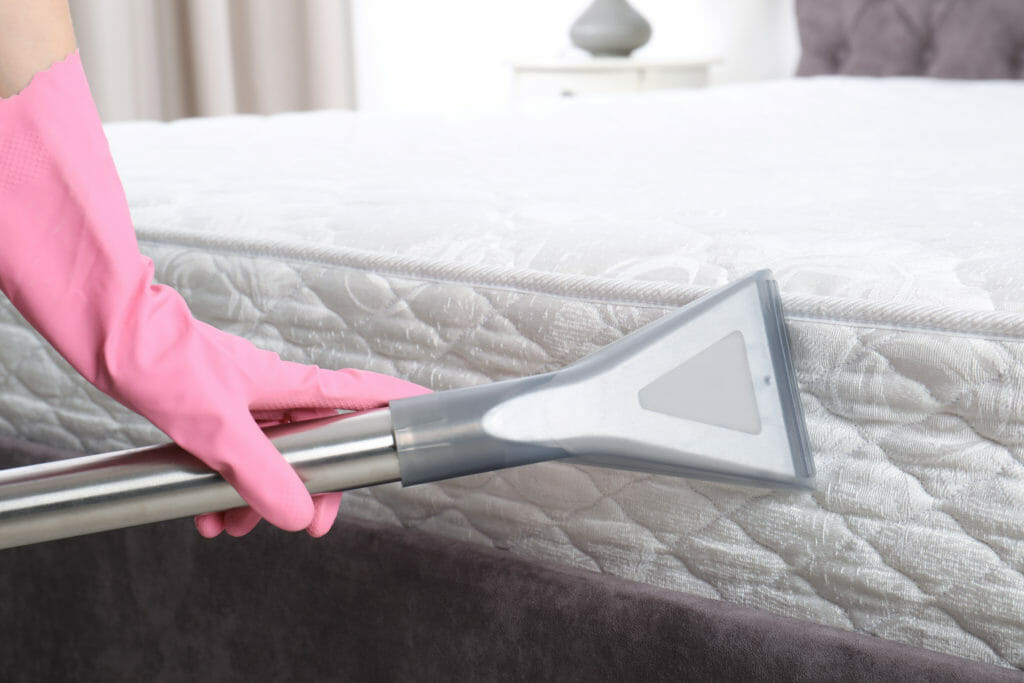
Using the upholstery attachment, vacuum the surface of the mattress, making sure to get along the quilted seams on the surface. It’s important to remove any debris, even the things you may not be able to see, such as dust, pollen, and dust mites, leaving behind a clean surface.
Remember, because you flip your mattress, you will want to clean both sides.
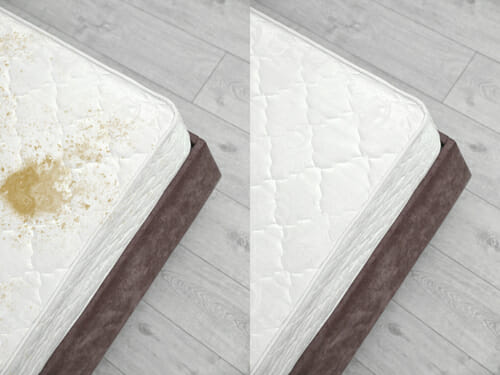
step 4: Clean Spots

It’s important to clean any soiled spots from your mattress. You can use a commercial enzyme cleaner designed to remove organic stains or you can mix together two parts of hydrogen peroxide and one part dish soap to make your own general mattress cleaner.
You will want to use a cloth or a soft-bristled toothbrush if the stain is deep-set or located along the stitching. Be sure the brush is soft enough not to harm the fibers if you are using one. Be sure to blot any excess liquid as you clean the stains to keep the mattress as dry as possible.
Stain-Specific DIY Mattress Stain Cleaning Options
Sometimes you may not want or need to clean the entire mattress, but accidents happen and will need to be cleaned immediately to prevent odor and permanent staining.
These are some options for spot cleaning or refreshing your mattress:
Urine or Sweat Stains
To remove urine or sweat stains from a mattress first blot the mattress with an absorbent towel and remove as much liquid from it as possible.
- Mix one cup hydrogen peroxide,
- 1/4 teaspoon of dish soap and;
- 3 tablespoons of baking soda
Pour into a spray bottle. Saturate the stain with the spray. Allow the mattress to air dry for at least an hour.
An alternate method to treat mattress stains is to make a paste of baking soda, salt, and water and apply to stain in a circular motion. Allow the paste to stay on the mattress for at least 45 minutes, then remove with a damp cloth and allow the mattress to air dry completely.
Blood Stains
To remove blood stains from a mattress use hydrogen peroxide in a spray bottle. Spray the stain to saturate it, then blot with an absorbent towel. Repeat until the stain is gone and allow the mattress to air dry.
Vomit Stains
To remove vomit stains from a mattress mix equal parts water and white vinegar. Using a spray bottle, saturate the stain, blot with a clean towel, and allow to naturally air dry.
step 5: Sprinkle Baking Soda
You will want to sprinkle Baking Soda all over your mattress and allow it to rest for at least twenty minutes.
There are mixed feelings about mixing a few drops of essential oils in with the baking soda before you sprinkle it onto the mattress. It can leave a lasting fragrance on the mattress, however, it IS oil and will leave a slight residue. For this reason, the recommendation is a bit controversial, so it would be a personal choice whether to use essential oils or not.
It’s easiest to use a sieve or strainer to apply the baking soda. The longer you can leave the baking soda, the more time it will have to absorb any odors. Also, any stains that have been scrubbed, the baking soda will help to pull moisture out of the fabric allowing it to dry faster.
step 6: Vacuum Again
After you’ve let the baking soda do the dirty work, it’s time to pull out the vacuum again. Be sure to vacuum thoroughly to remove all of the baking soda that has been sprinkled on the mattress. You want to make sure that there’s no baking soda residue left behind.
step 7: Flip or Rotate the Mattress

You will want to flip or rotate your mattress after you’ve made sure that all of the baking soda has been vacuumed up. If you flip your mattress instead of rotating it, make sure that you are cleaning the side that you are leaving upright as well.
You may need to repeat the previous three steps if you have not already cleaned this side.
step 8: Dry Thoroughly
You always want to make sure that everything has had adequate time to dry. It’s recommended that you wait a minimum of four hours to be sure that everything has had plenty of time to get dried.
Remember, even though the surface may feel dry, there could be moisture trapped beneath the surface and you want to give it plenty of time to escape.
step 9: Place a Mattress Protector

Once you have your mattress clean and fresh, you’re going to want to protect it properly. For this, you’re going to want to use a mattress cover or protector to keep any fresh soil or stains from easily finding its way to your mattress. If you already had one, be sure that it has been freshly laundered and thoroughly dried before putting it back onto your mattress.
How To Choose the Best Mattress Protector
step 10: finish with Sheets and Bedding

You’ll want to be sure that you further protect your mattress by using a clean fitted sheet over the mattress cover or protector. You’re now ready to re-dress the bed, putting clean pillowcases on your pillows, adding the freshly laundered flat sheet and comforter atop the bed.
Best Mattress Protectors to Buy Online
All Done – Enjoy A Restful Sleep!
It is a long process, with a good deal of waiting between the steps, but well worth it. It’s recommended that you clean your mattress twice a year to be sure to remove any contaminants from the surface that have found their way to the mattress through the coverings.
Having a clean mattress can make you much more comfortable, contributing to better sleep. You can also breathe easier after removing all traces of dust, pollen, and dust mites – all of which can be irritants. Rest well and rest easy after cleaning your mattress.